Some final pics of the aileron and wing together, now the fun begins, stitching…


Some final pics of the aileron and wing together, now the fun begins, stitching…
Well, the top layer went on nicely, put the initial shrink on it to 250 degrees, cove looks good so far. Feels pretty good to see this wing shaping up. Next, I will wrap the aileron and if my clearances are good then it’s time for a stitching party! 🙂


Well, it’s been a while, most of the summer, but I have finally gotten back to making some progress. Here are some pics of the first skin (bottom) of the lower left wing covering process. Tomorrow I finish the glue up and shrink, then apply the top fabric.


The flying tail came out great. When I first spoke to Steve a few years ago he was just working out Sean’s tail so we built mine with the idea I could convert it to his flying tail. Then my good friend Chris had the opportunity to buy Steve Wolfs shop and started Wolf Aircraft Products. So it was time to pull the trigger on the carbon airfoil tail.


I’ve been working on the lower wing aileron coves. I decided to go with wood coves instead of aluminum. It’s been a lot of detail work sanding out the correct radius and getting the correct clearances that will allow for paint and covering. Here are a few pics. The first is the drawing for the aluminum coves. Main takeaway is the 2.38 radius and the 1.77 height of the top and bottom of the cove.

Cove and Aileron Dimensions


Sorry for lack of action on the blog, here is some catch up from May…
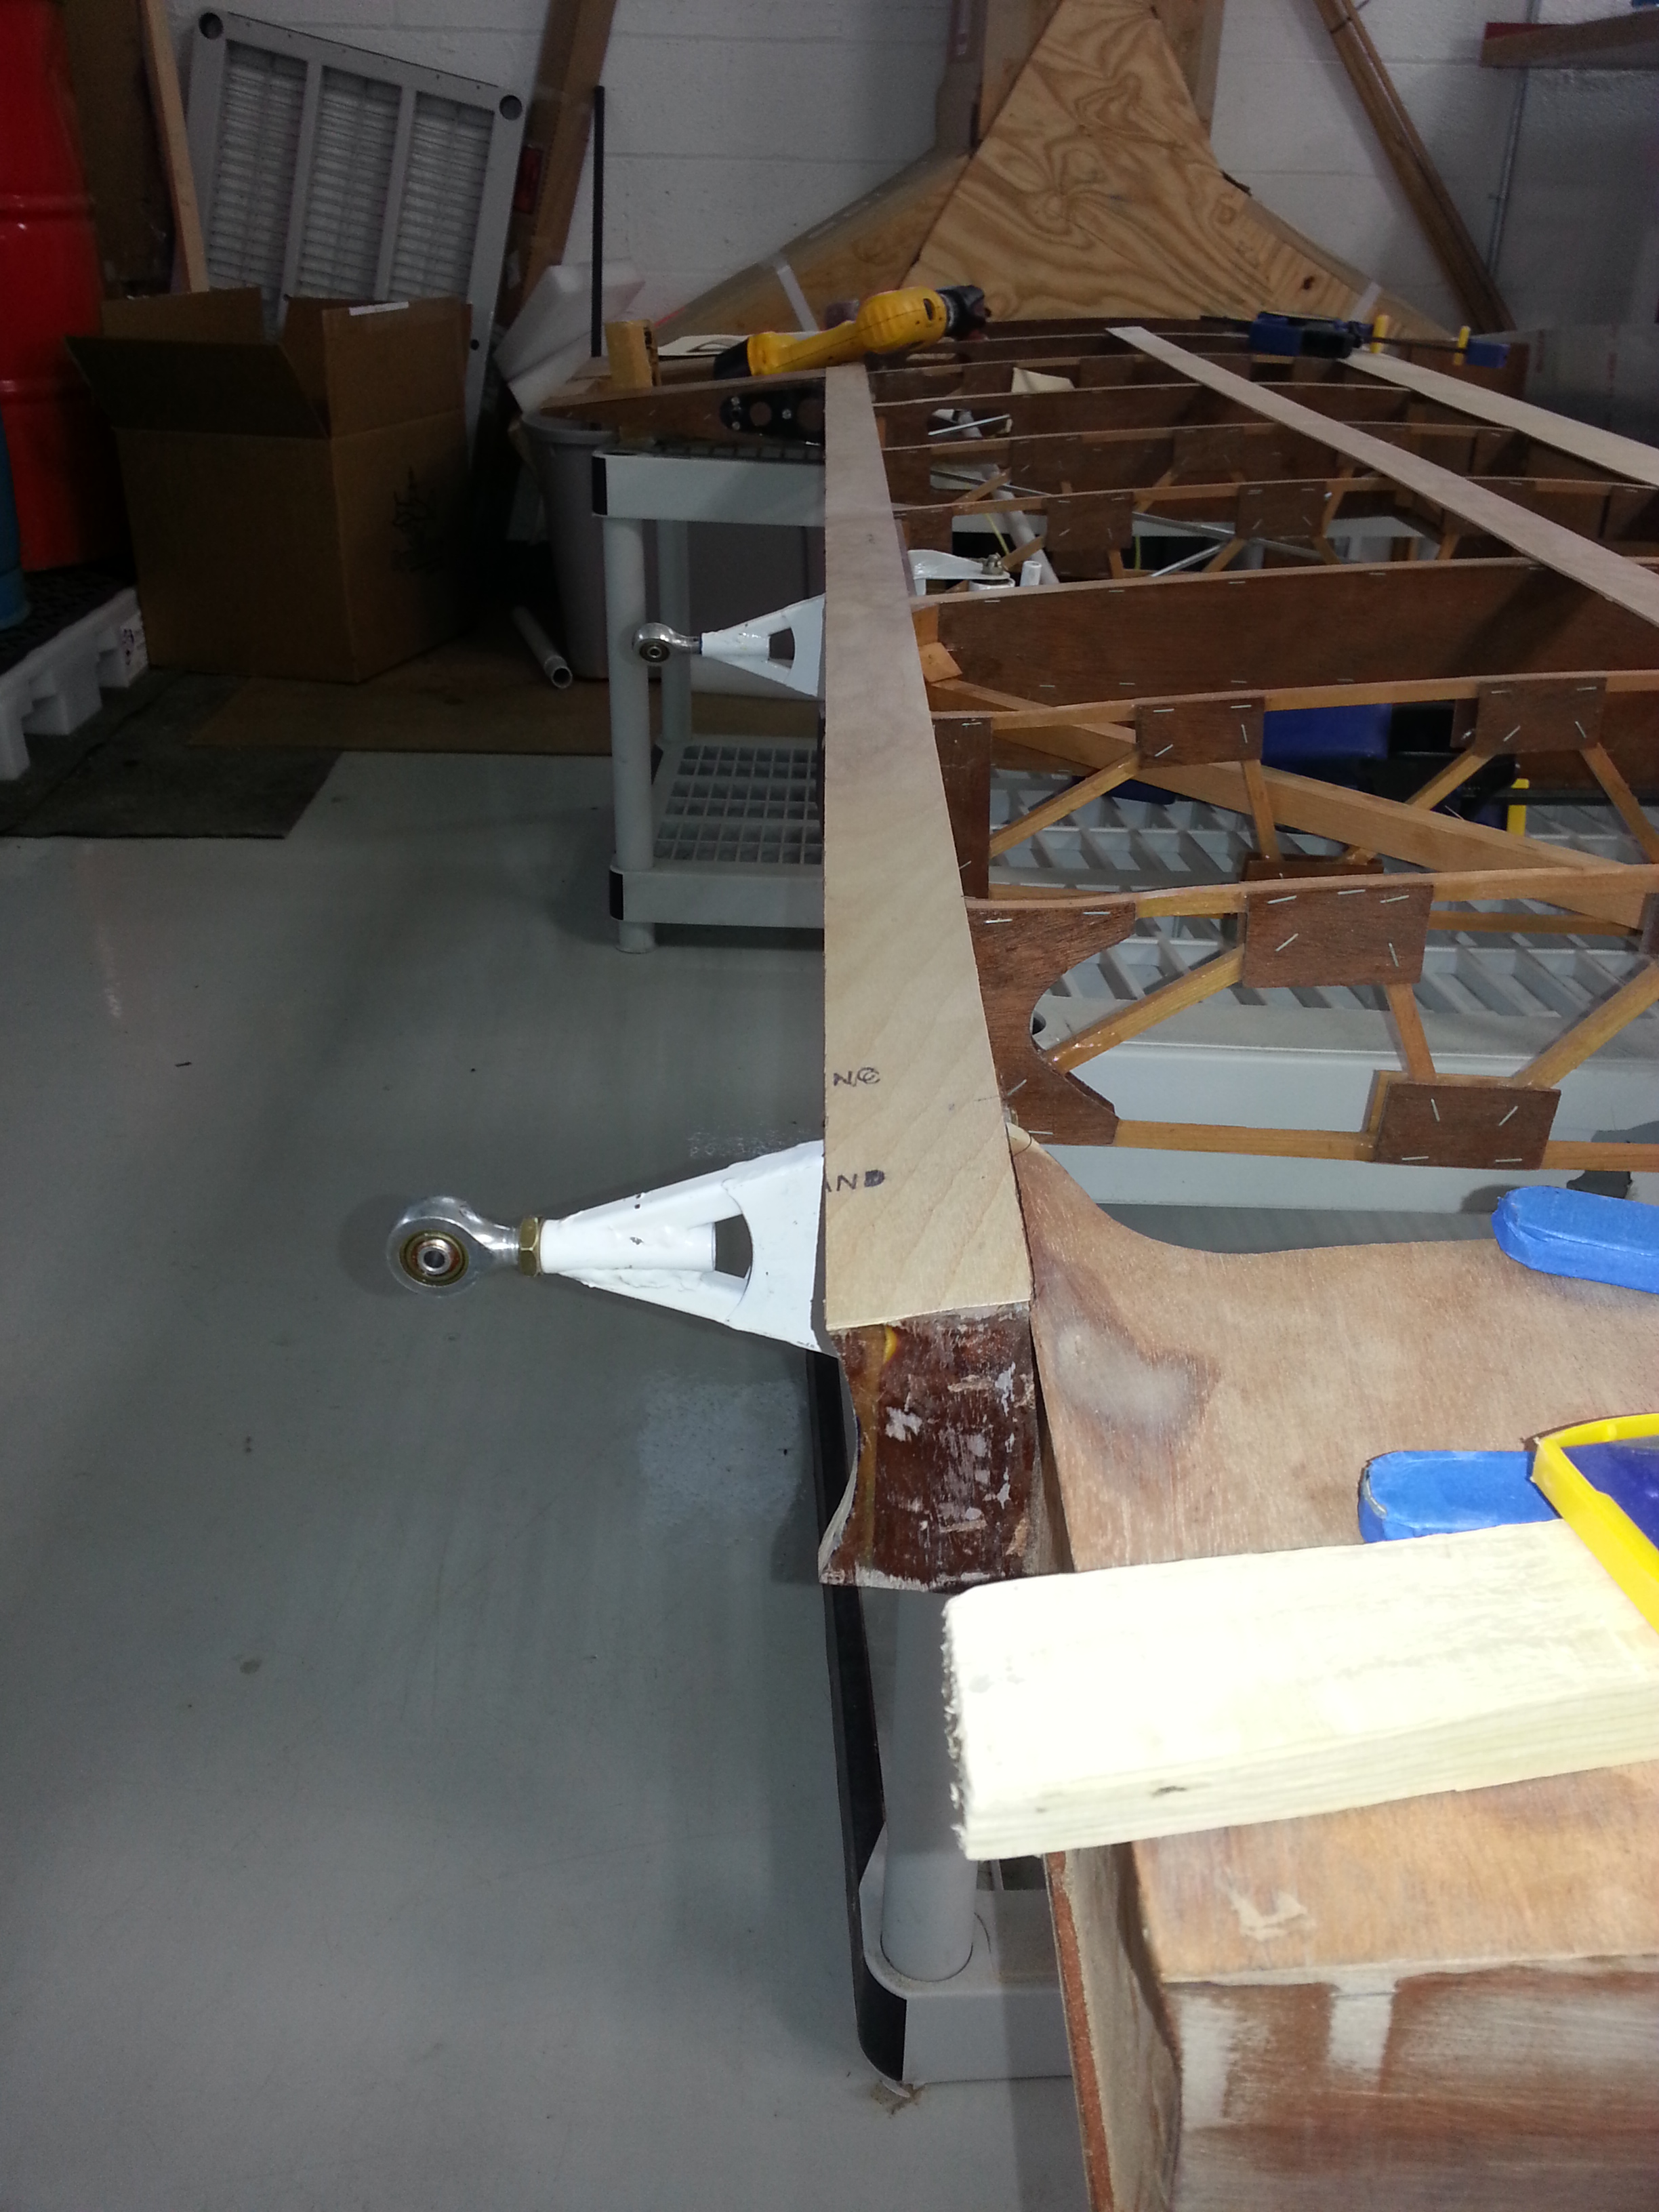
The last part of the control system has been the Slave Struts. The S-1-11 has Four ailerons. The stick is moved left and right, pushing and pulling tubes, through idlers and bell cranks in the lower wings which move the lower ailerons. The lower ailerons have arms that come off of the front of the aileron spars that connect to the Slave Struts which connect to the top wing’s ailerons via, you guessed it, arms that come off the front of the top aileron spars. So when the lower ailerons move they move the upper ailerons. One critical part of this besides lining it all up correctly was to get the slave struts lined up behind the I struts.
The slave struts start life as a piece of streamlined tubing, round tube and some flat steel. At the bottom of the strut is a Rod End bearing. The streamlined tubing is notched to allow the smaller tubing to be welded into it then threaded to receive the rod end. The streamlined tubing is then cut at an angle on the front and back for clearance. This will bolt to the lower aileron arm.
At the top of the strut is a fork. The flat steel is bent into a fork, a U shape that is welded to the top of the streamlined tubing. The fork is what the bearing in the top aileron arm will fit between. A bolt will go through the fork and bearing connecting them. Before welding the fork I used a dremel and sanding drums to sculpt the top of the streamline tubing, meticulous and tedious but it allowed me to get the strut exactly where I wanted it.
Once the struts were welded I finally had a complete control system. The next step was to expand the clearance around the struts and aileron hinges by removing bits of the aileron skin until I had good clearance.

Lower end of Slave Strut

Lower End of Slave Strut

Lower End of Slave Strut

Lower End of Slave Strut

Bottom of Slave Strut Connected to Lower Aileron

Sculpting Top of Slave Strut

Sculpting Top of Slave Strut

Sculpting Top of Slave Strut

Top of Slave Strut Welded

Top of Slave Strut Welded
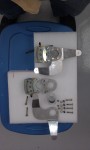
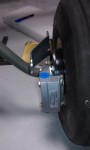
Been spending some time assembling the brakes and fitting the left wheel pant. Took me a little while to get the assembly all worked out and now it’s a matter of getting the wheel pant aligned properly aesthetically and aerodynamically.


I want to thank Tonya and everyone at Whirl Wind Aviation for my beautiful prop. Great people to work with and very sexy looking prop. I can’t wait to fly it. And it looks great on the 1-11.
Pictures don’t do it justice, but here are a few.


Last post I had just installed the aluminum piano hinges that hold the Two cowling halves together. Not Two days later Dave gives me a call and says he found a guy that makes carbon fiber piano hinges, Carbinge. So last week I was able to swap out the aluminum hinges and install the new carbon ones. I have a few pics below. This weekend I cut and notched the top ailerons and was able too get them hung. It was nice to see all the major components coming together. The top ailerons really complete the picture.

Top Ailerons Installed

Top Ailerons Installed

Top Ailerons Installed

Top Ailerons Installed

Top Ailerons Installed

Top Ailerons Installed

Top Ailerons Installed

Top Ailerons Installed

Top Ailerons Installed

Carbinge, Carbon Fiber Piano Hinge Lower Cowling

Carbinge, Carbon Fiber Piano Hinge Lower Cowling

Carbinge, Carbon Fiber Piano Hinge above Aluminum Hinge

Carbinge, Carbon Fiber Piano Hinge above Aluminum Hinge

Carbinge, Carbon Fiber Piano Hinge above Aluminum Hinge
Fitting and mounting the cowling has been quite a fulfilling experience. It was my first time really working with a finished carbon piece. I am amazed at how hard it is. Steve Wolf’s instructions are great! Nice diagrams that make it a piece of cake to understand what you need to do. Getting it done took a lot of patience and focus. Tony from Specialty Aero builds and sells the kit and was great clearing up questions. The last two efforts had been mounting the top hinge that holds the top seam together and drilling the holes on the back where it screws to the fuselage. Today’s work was drilling and mounting the bottom piano hinge which will hold the bottom seam together. Here are some pics.

Strap Keeps Two halves Nice and Tight

Cutting Out Front Inside Lip for Bottom Hinge

Inside Front Lip of Cowling.

Front Bottom Hinge Installed


Front Bottom Hinge Installed

Right Side

Right Side

Right Side


